What's New In The 3D Printer World
Flashing Tronxy X5S Factory Control board USB Cable only
Ok so Scott here again, this time I decided to go ahead and take things to a simple level based off a write up done by Syed Muhammad Shaheryar. I have seen so many comments and issues with people flashing firmware to their factory TronXY X5S control board, now this should work for flashing the firmware on the X3S as well but the firmware I included will need some edit work unlike for the X5S. This Version of Arduino IDE will work just like any other but it can be installed on a thumb drive or SD card and moved from one computer to the next without having to install anything on that computer. it should also work on other boards but I have not tested it.
To start with Items you will need.
USB cable that came with the printer (or about any others that fit both ends)


Tronxy X5S factory control board.
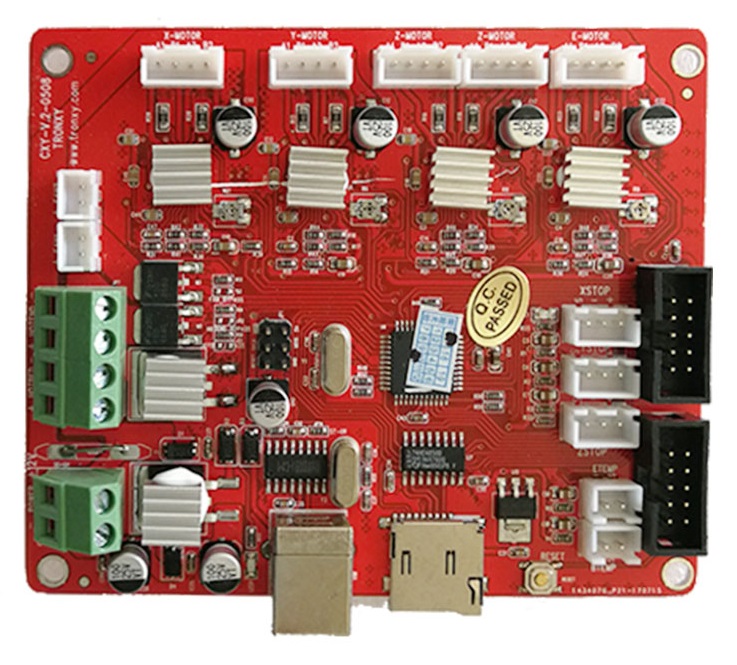

- Remove all versions or Adruino IDE if you already have it installed. From this point on you can use this version for all your firmware updates.
- Download.
Down load this zip (165.mb)
(note I got comments about people getting heating errors so I changed the firmware temp timer in the firmware in this file but it is only the firmware so you still need the above file first) Temp time extended firmware File is here (please note I updated the first file to include this file as well so this is just here if you already have bootloader and want to use this firmware only)
- Unzip the file in a location of your choosing. This will install a complete new version of Arduino that is stand alone.

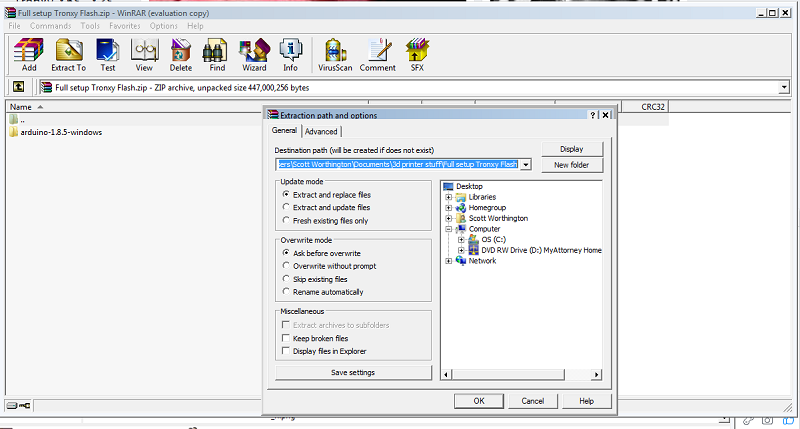
- Locate and open the file you saved, then run Arduino exe. See red arrow.


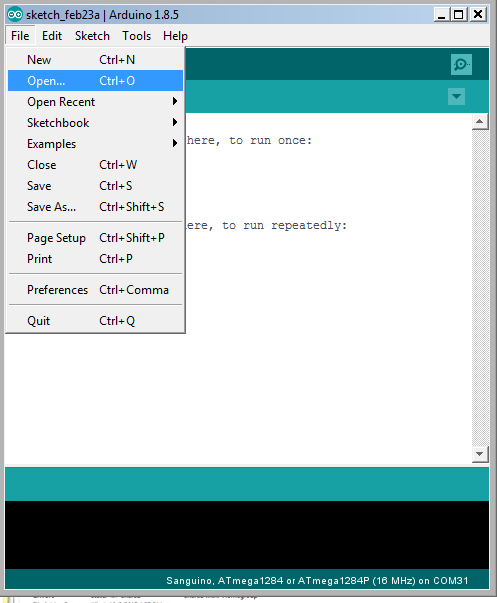
- Once Arduino loads open the marlin INO file for the X5S firmware. (file/open/marlin/ X5S M1.1.8/marlin.ino ) To make this easier I limit the files I see to file type INO (see pic for detail). If your running windows 10 you might have to find the file by going to File/ open/ portable/ sketchbook/ marline/ X5s m1.1.8/ marlin.ino. click open Red arrow again


- Close first window of Aurduino, turn front one full screen.
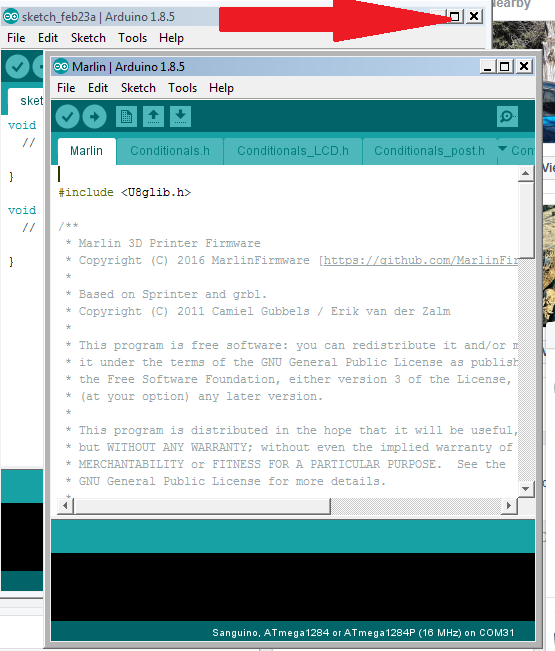
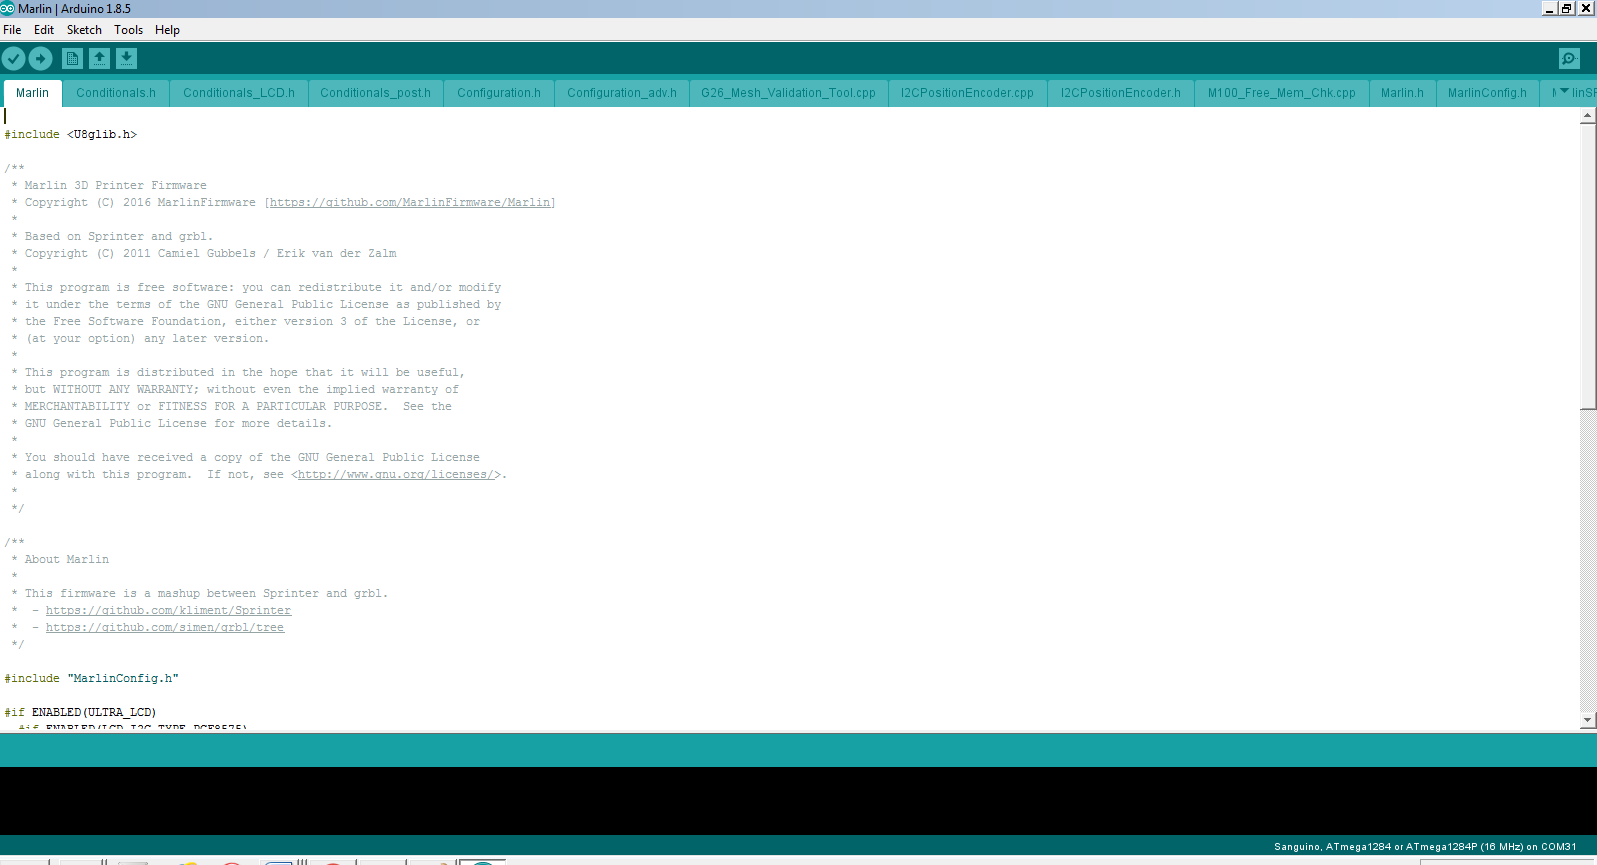
- Plug in the USB cable and control board. The control board can be left fully installed in the printer just do not have the power on to it just in case. You might have to download and install drivers if windows does not install them on its own.
Drivers can be downloaded here
- Check make sure board is set to “Sanguino” and processor is set to “ATmega 1284 or ATmega1284P (16MHz)” then Set the Port to the one that the control board it using.

- Upload the new firmware (red arrow)…..Wait for it to compile and then it will upload Blue arrow is where it will show compiling and uploading and complete.

10. Enjoy
Thank you for reading and a big thanks to Alexander Ludwig for giving me his old factory board, because I had already added bootloader to mine.


