What's New In The 3D Printer World

3 minutes reading time (520 words)
Featured 

Flashing Tronxy X5S Factory Control board USB Cable only

Ok so Scott here again, this time I decided to go ahead and take things to a simple level based off a write up done by Syed Muhammad Shaheryar. I have seen so many comments and issues with people flashing firmware to their factory TronXY X5S control board, now this should work for flashing the firmware on the X3S as well but the firmware I included will need some edit work unlike for the X5S. This Version of Arduino IDE will work just like any other but it can be installed on a thumb drive or SD card  and moved from one computer to the next without having to install anything on that computer. it should also work on other boards but I have not tested it.

To start with Items you will need.          


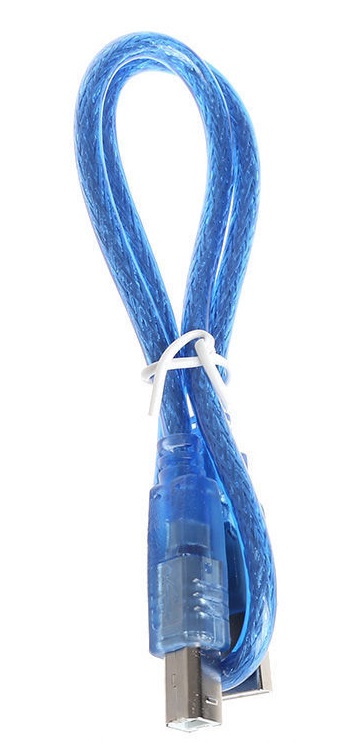
USB cable that came with the printer (or about any others that fit both ends)


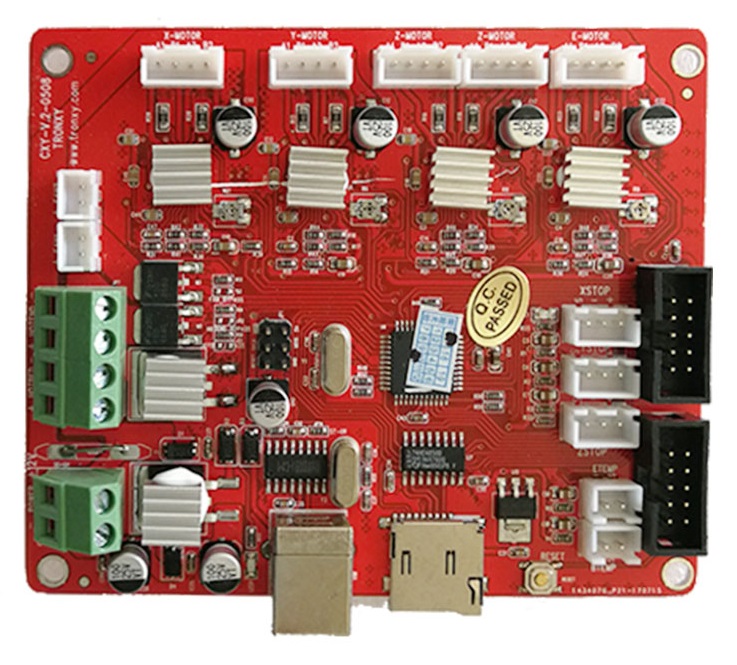
                Tronxy X5S factory control board.


  1. Remove all versions or Adruino IDE if you already have it installed. From this point on you can use this version for all your firmware updates.
  2. Download.

             Down load this zip (165.mb)

File is here

(note I got comments about people getting heating errors so I changed the firmware temp timer in the firmware in this file but it is only the firmware so you still need the above file first) Temp time extended firmware  File is here (please note I updated the first file to include this file as well so this is just here if you already have bootloader and want to use this firmware only)


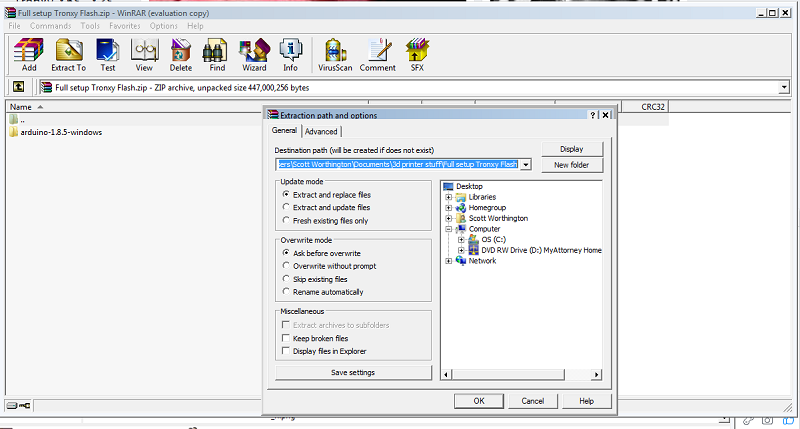
  1. Unzip the file in a location of your choosing. This will install a complete new version of Arduino that is stand alone.


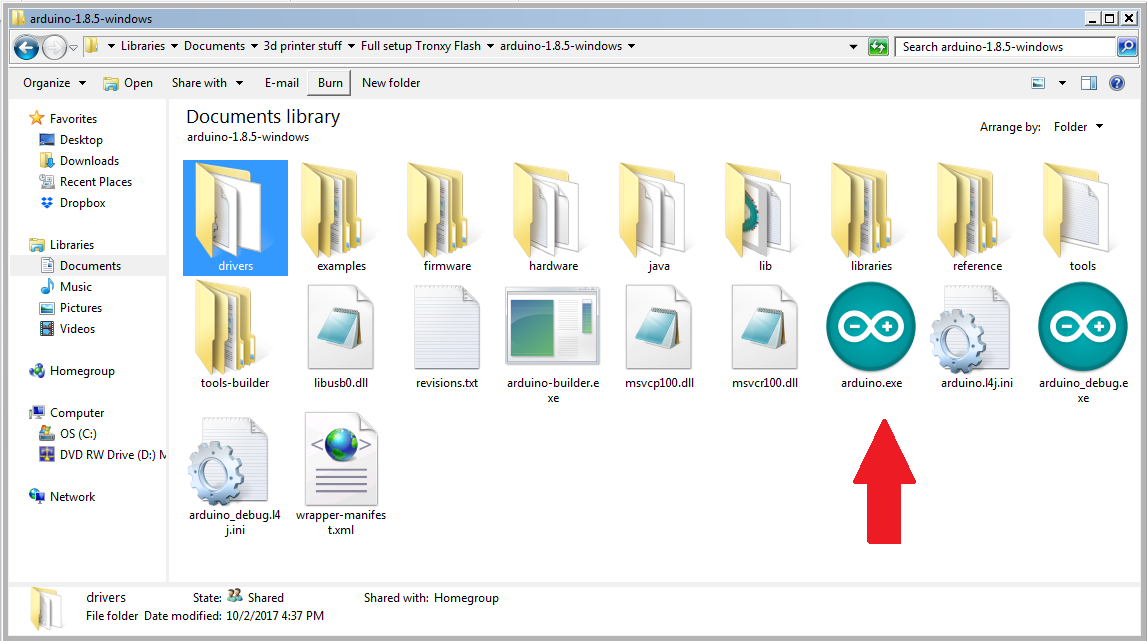
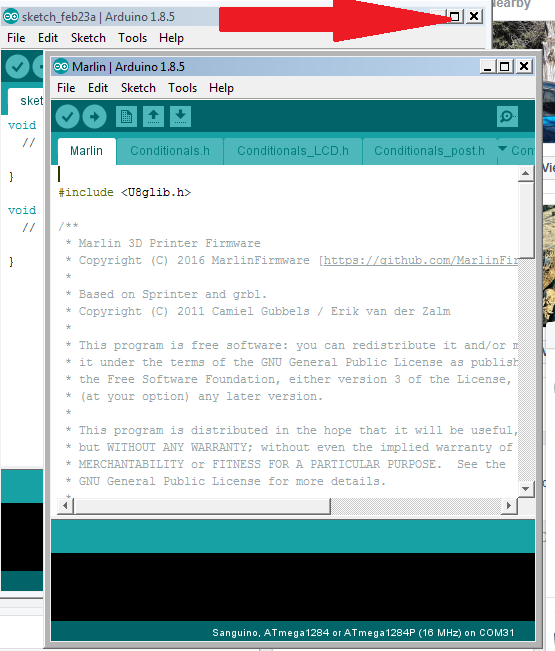
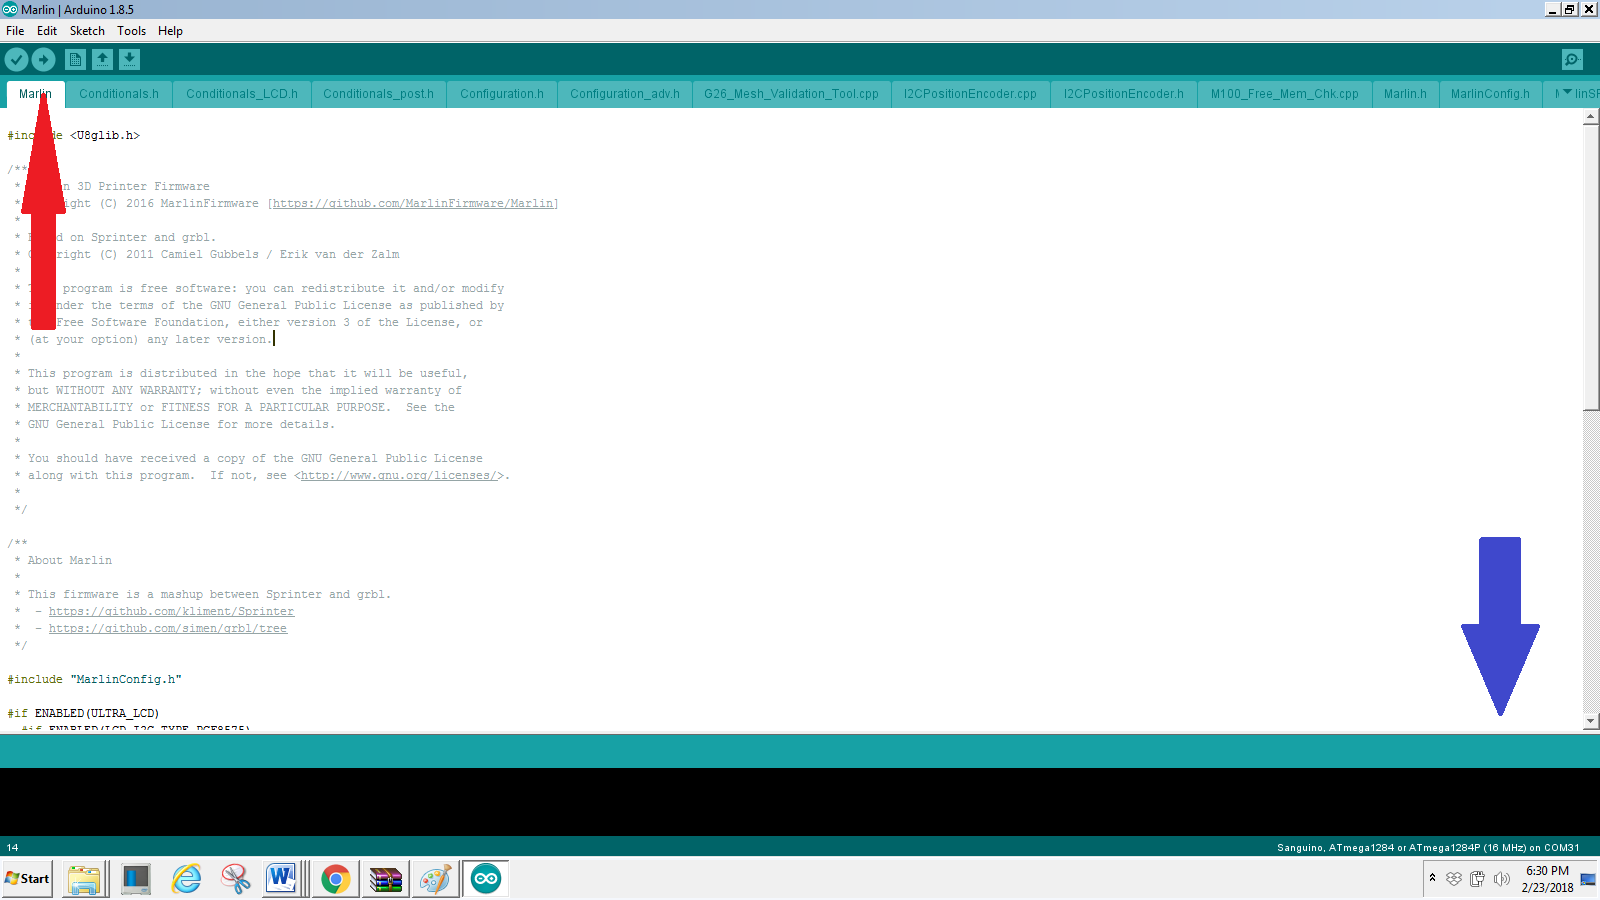
  1. Locate and open the file you saved, then run Arduino exe. See red arrow.


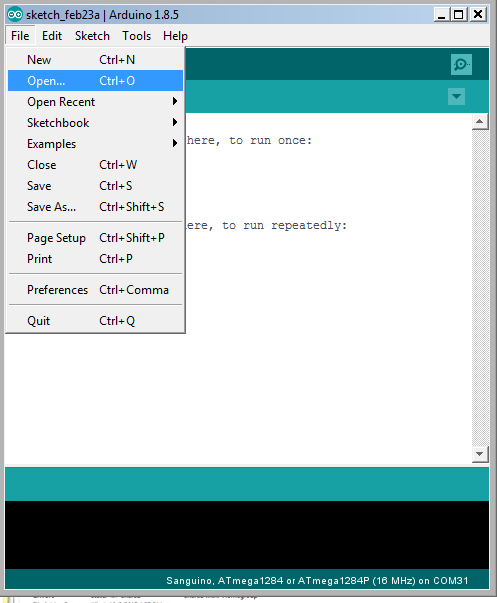
  1. Once Arduino loads open the marlin INO file for the X5S firmware.  (file/open/marlin/ X5S M1.1.8/marlin.ino ) To make this easier I limit the files I see to file type INO (see pic for detail).   If your running windows 10 you might have to find the file by going to  File/ open/ portable/ sketchbook/ marline/ X5s m1.1.8/ marlin.ino. click open Red arrow again


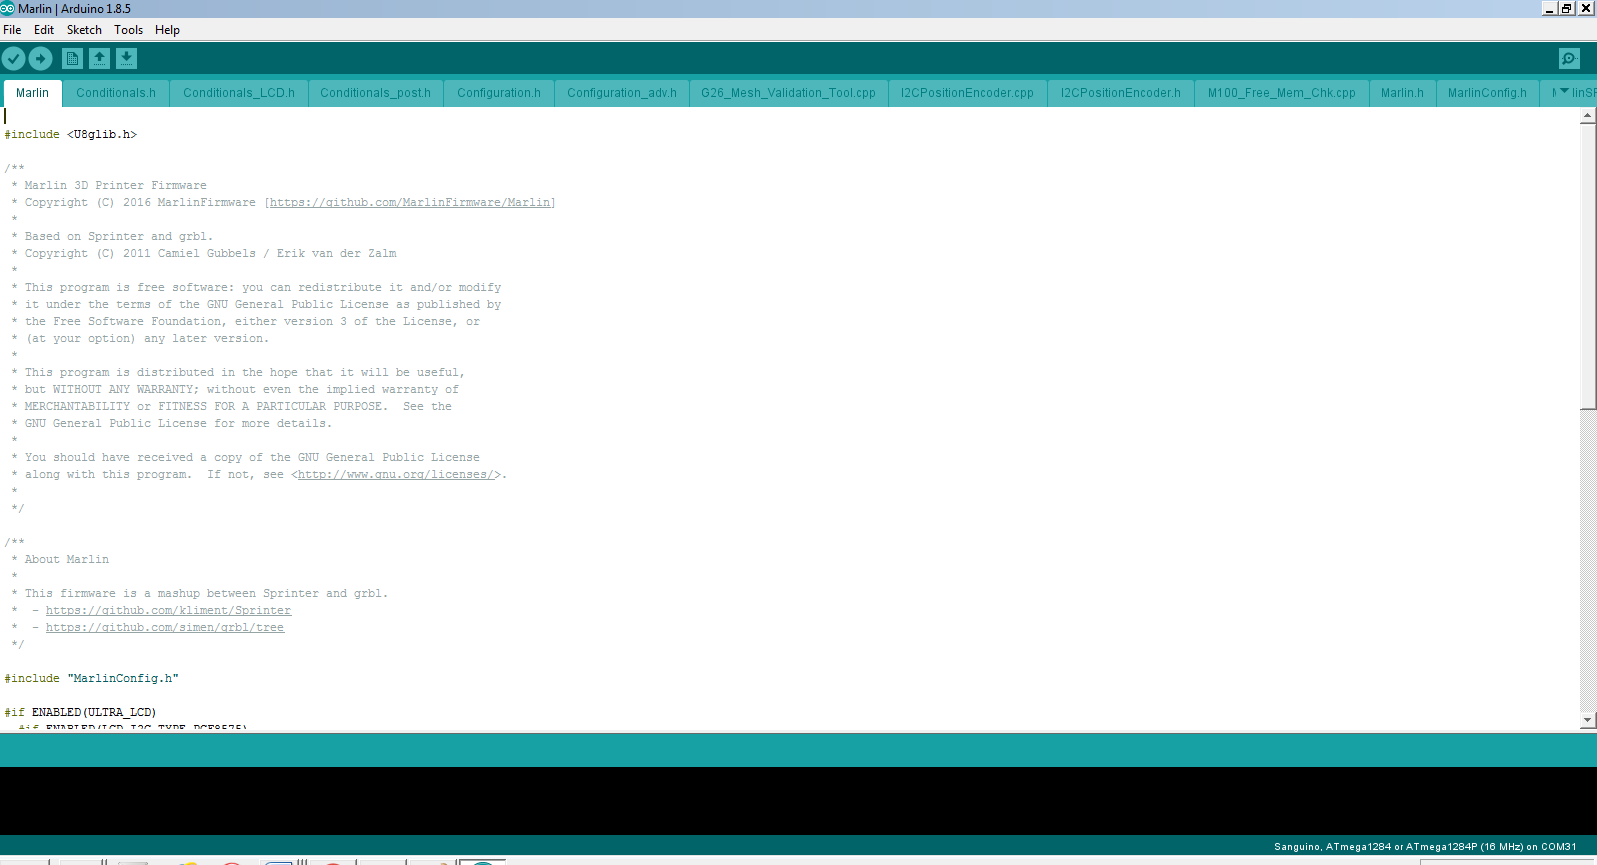
  1. Close first window of Aurduino, turn front one full screen.


  1. Plug in the USB cable and control board. The control board can be left fully installed in the printer just do not have the power on to it just in case. You might have to download and install drivers if windows does not install them on its own.

            Drivers can be downloaded here

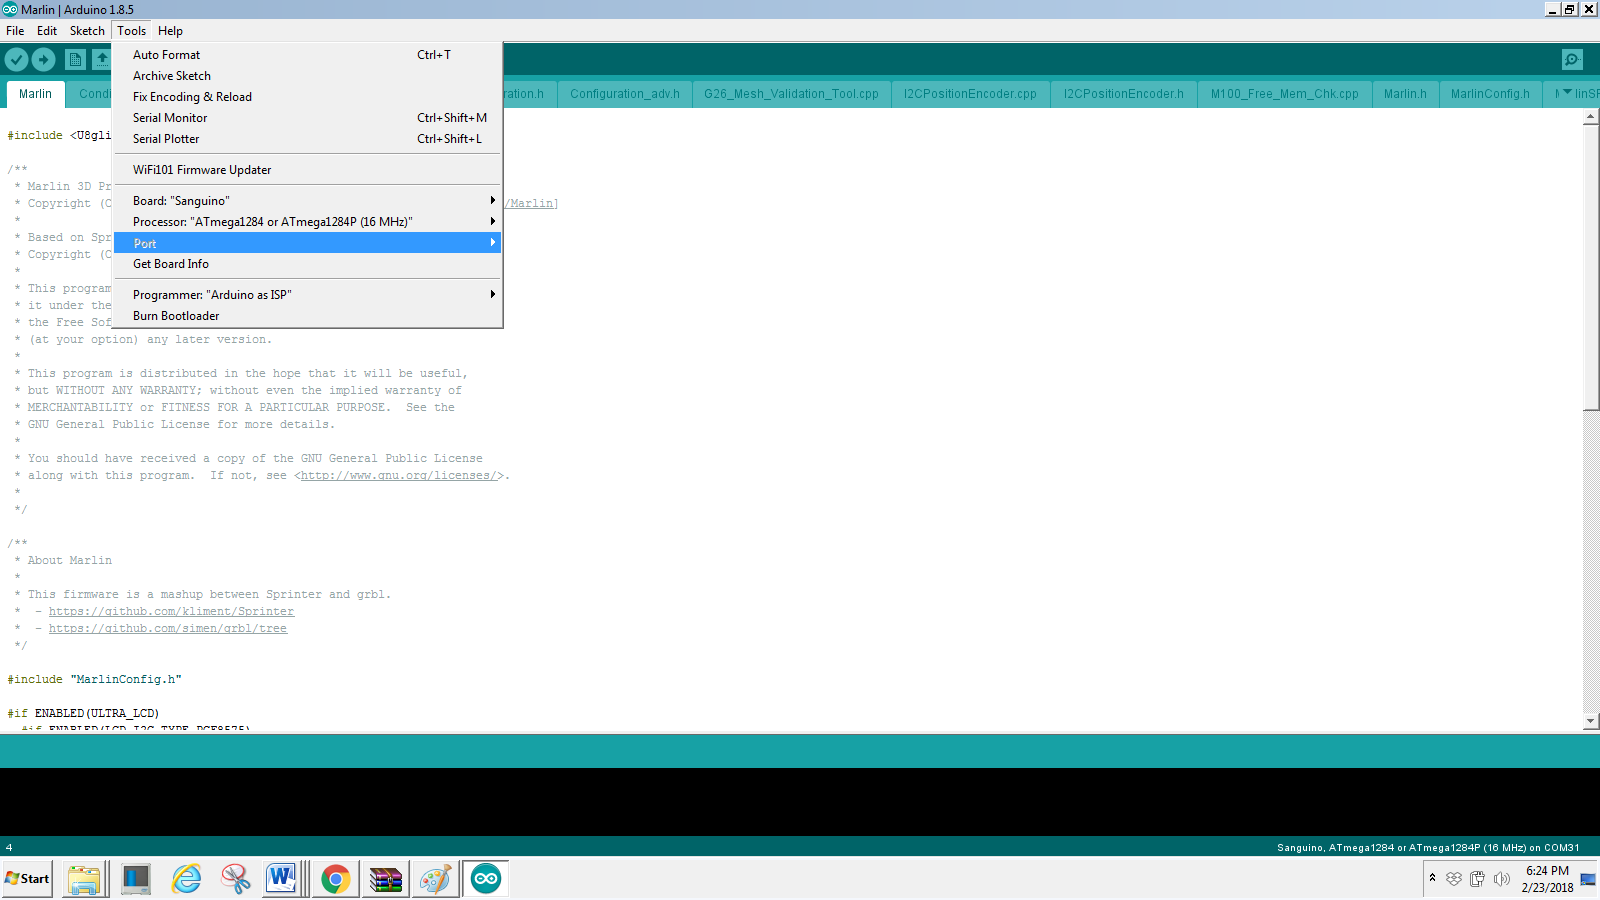
  1. Check make sure board is set to “Sanguino” and processor is set to “ATmega 1284 or ATmega1284P (16MHz)”  then Set the Port to the one that the control board it using.


  1. Upload the new firmware (red arrow)…..Wait for it to compile and then it will upload Blue arrow is where it will show compiling and uploading and complete.


    10. Enjoy


Thank you for reading and a big thanks to Alexander Ludwig for giving me his old factory board, because I had already added bootloader to mine.

How to Install a Post Processing Scripts in Cura 3...
Power Supply Fan Replacement

Related Posts


Comments 62

Scott Worthington on Saturday, 24 February 2018 01:52

By doing it this way You can copy the same file onto a thumb drive and run off ant windows computer. and use to flash other boards just save that control boards firmware in the firmware's file.

By doing it this way You can copy the same file onto a thumb drive and run off ant windows computer. and use to flash other boards just save that control boards firmware in the firmware's file.
Guest - Pete Goepfert on Thursday, 01 March 2018 23:17

I am unable to locate the Z offset option. Am I over looking it, or is it missing? Thanks.

I am unable to locate the Z offset option. Am I over looking it, or is it missing? Thanks.
Guest - Scott worthington on Thursday, 01 March 2018 23:20

Why do you need it the z has a adjustable bolt for that...

Why do you need it the z has a adjustable bolt for that...
Guest - whyrde on Tuesday, 06 March 2018 19:13

I just attempted this and am getting "avrdude: verification error; content mismatch"
any direction is appreciated

I just attempted this and am getting "avrdude: verification error; content mismatch" any direction is appreciated
Scott Worthington on Tuesday, 06 March 2018 19:23

If you do not fallow it step by step this might happen. If you had arduino installed before you must remove it first as this version is full stand alone. Then you need to make sure the correct settings are set. If your still having issues post in the forum about it exact details and screen shots will help.

If you do not fallow it step by step this might happen. If you had arduino installed before you must remove it first as this version is full stand alone. Then you need to make sure the correct settings are set. If your still having issues post in the forum about it exact details and screen shots will help.
Guest - whyrde on Tuesday, 06 March 2018 19:24

the full error msg

Arduino: 1.8.5 (Windows 10), Board: "Sanguino, ATmega1284 or ATmega1284P (16 MHz)"

Sketch uses 117946 bytes (90%) of program storage space. Maximum is 130048 bytes.
Global variables use 4561 bytes (27%) of dynamic memory, leaving 11823 bytes for local variables. Maximum is 16384 bytes.
avrdude: verification error, first mismatch at byte 0x0000
0xff != 0x0c
avrdude: verification error; content mismatch

This report would have more information with
"Show verbose output during compilation"
option enabled in File -> Preferences.


Thanks

the full error msg Arduino: 1.8.5 (Windows 10), Board: "Sanguino, ATmega1284 or ATmega1284P (16 MHz)" Sketch uses 117946 bytes (90%) of program storage space. Maximum is 130048 bytes. Global variables use 4561 bytes (27%) of dynamic memory, leaving 11823 bytes for local variables. Maximum is 16384 bytes. avrdude: verification error, first mismatch at byte 0x0000 0xff != 0x0c avrdude: verification error; content mismatch avrdude: verification error; content mismatch This report would have more information with "Show verbose output during compilation" option enabled in File -> Preferences. Thanks
Scott Worthington on Tuesday, 06 March 2018 19:32

While I have seen this work on Windows 10 I have also seen it be an issue if you have another Windows 7 computer I would try that. I have personally used the exact steps above to flash 4 boards now with zero issues and I have help a lot of others do it... not sure what the issue could be and would rather take this to the forum or even the fb group easier to chat there

While I have seen this work on Windows 10 I have also seen it be an issue if you have another Windows 7 computer I would try that. I have personally used the exact steps above to flash 4 boards now with zero issues and I have help a lot of others do it... not sure what the issue could be and would rather take this to the forum or even the fb group easier to chat there
Guest - Martin Beaulieu on Tuesday, 06 March 2018 19:46

For me...

avrdude: ser_open(): can't open device "\\.\COM3": Access is denied.


Problem uploading to board. See http://www.arduino.cc/en/Guide/Troubleshooting#upload for suggestions.

Any suggestions? Thank you.

For me... avrdude: ser_open(): can't open device "\\.\COM3": Access is denied. Problem uploading to board. See http://www.arduino.cc/en/Guide/Troubleshooting#upload for suggestions. Any suggestions? Thank you.
Scott Worthington on Tuesday, 06 March 2018 19:53

You need to set the com port to the one your computer has set for the control board and make sure no slicer or anything is running.

You need to set the com port to the one your computer has set for the control board and make sure no slicer or anything is running.
Guest - Martin Beaulieu on Tuesday, 06 March 2018 20:02

Nevermind... slicer was running... At last, i've been able to upload on this board. Thanks!

Nevermind... slicer was running... At last, i've been able to upload on this board. Thanks!
Scott Worthington on Tuesday, 06 March 2018 20:05

Glad to see it figured out

Glad to see it figured out
Jeffrey Millard on Tuesday, 06 March 2018 21:28

Worked great way easier than i was expecting this being my first time ever messing with a firmware upgrade only issue i had was finding the marlin.ino and maybe finding the right port but that was simple just plug in the board and go to devices and printers you will see at the bottom ch340 and then the port it is using will be listed well this is on a windows 10 system

Worked great way easier than i was expecting this being my first time ever messing with a firmware upgrade only issue i had was finding the marlin.ino and maybe finding the right port but that was simple just plug in the board and go to devices and printers you will see at the bottom ch340 and then the port it is using will be listed well this is on a windows 10 system
Guest - whyrde on Tuesday, 06 March 2018 21:34

First off thank you for posting this guide.
After a second attempt and restart of the printer I'm showing the updated Marlin 1.1.8, but I now have thermal runaway on my hotend... the moment I turn on the printer it starts heating despite being set to 0 degrees in options. This is a new printer and it could be hardware related unfortunately I'm unsure.

First off thank you for posting this guide. After a second attempt and restart of the printer I'm showing the updated Marlin 1.1.8, but I now have thermal runaway on my hotend... the moment I turn on the printer it starts heating despite being set to 0 degrees in options. This is a new printer and it could be hardware related unfortunately I'm unsure.
Scott Worthington on Tuesday, 06 March 2018 21:45

not sure what your issue is might want to check all your connections... then if you had issues at all flashing I would suggest doing it again because there might have been a glitch in the flash just to avoid issues

not sure what your issue is might want to check all your connections... then if you had issues at all flashing I would suggest doing it again because there might have been a glitch in the flash just to avoid issues
Martin Beaulieu on Wednesday, 07 March 2018 20:16

Heating Failed
Printer Halted
Please reset...

Problem! What am i missing?

Heating Failed Printer Halted Please reset... Problem! What am i missing?
Martin Beaulieu on Wednesday, 07 March 2018 20:17

Temp time extended firmware I guess...

Temp time extended firmware I guess... :)
Scott Worthington on Wednesday, 07 March 2018 20:20

Yeah if you read through the comments and all this has happened on 2 other people I updated the instruction and included a link to firmware I edited to extend the timer... No clue why it happens on a few as the firmware uploaded is exactly what's running on my printer

Yeah if you read through the comments and all this has happened on 2 other people I updated the instruction and included a link to firmware I edited to extend the timer... No clue why it happens on a few as the firmware uploaded is exactly what's running on my printer
Martin Beaulieu on Wednesday, 07 March 2018 20:22

I've used this on my X3S... maybe some kind of a hint?!?

I've used this on my X3S... maybe some kind of a hint?!? :D
Martin Beaulieu on Wednesday, 07 March 2018 20:24

What did you change for Temp Extend exactly... I will change it in my X3S version? If you don't mind of course... thanks.

What did you change for Temp Extend exactly... I will change it in my X3S version? If you don't mind of course... thanks.
Scott Worthington on Wednesday, 07 March 2018 20:35

Not a problem at all I think I went 80 or 90 and left it at 2 but another person did 80 and 1...

0
Not a problem at all I think I went 80 or 90 and left it at 2 but another person did 80 and 1...
Already Registered? Login Here
Guest
Thursday, 28 March 2024

To keep the site live and make improvements Please consider Donating. Thank you for your donation.